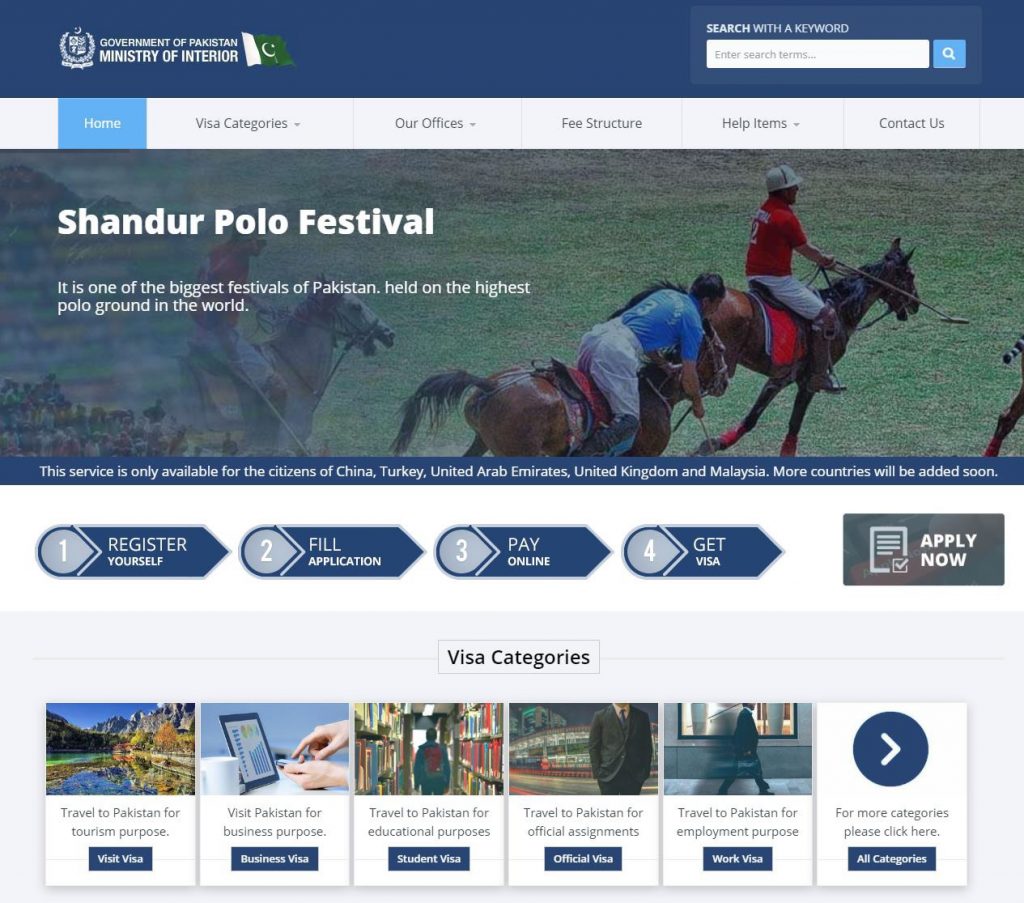

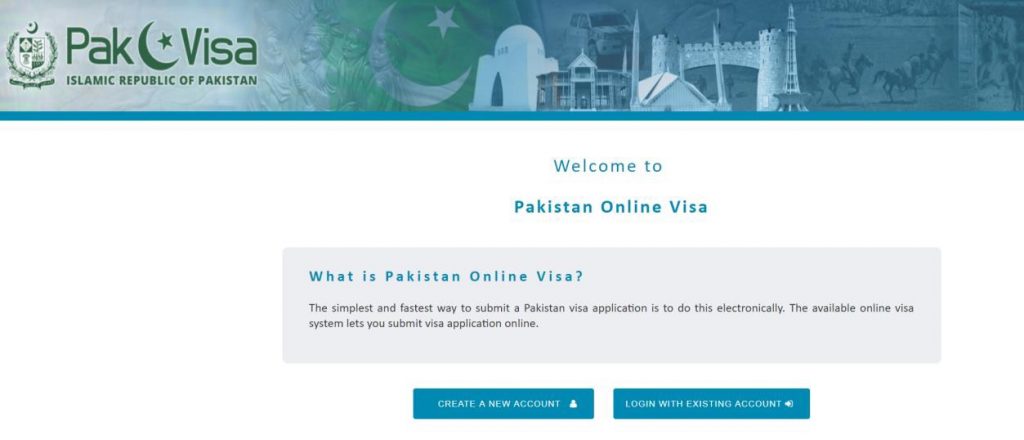
The government of Pakistan has implemented and launched an online Visa Issuance System, called “Pakistan Visa Online System”. This system allows the Foreign Nationals to apply for an online visa to visit Pakistan under various categories (Business, Tourism, Study, Work, etc).
The Pakistan Visa Online System can be accessed by visiting the following link https://visa.nadra.gov.pk
Table of Contents
Yes, Pakistan online visa is available for a list of countries and being availed by thousands of tourists every month.
Before you read any further, please have a look at the table below for all options available to you.
| 3 Ways to Apply for Pakistan Tourist Visa | Application Type | Eligibility | |
|---|---|---|---|
| 1 | Pakistan Online Visa (E-Visa) | Online | 175 countries |
| 2 | Visa on Arrival | Online | 50 countries |
| 3 | Apply at Pakistan Embassy, Consulate or other offices | Appointment & Visit | List of Embassies |
1. You can register on the Pakistan Visa Online System by clicking on ‘APPLY NOW”
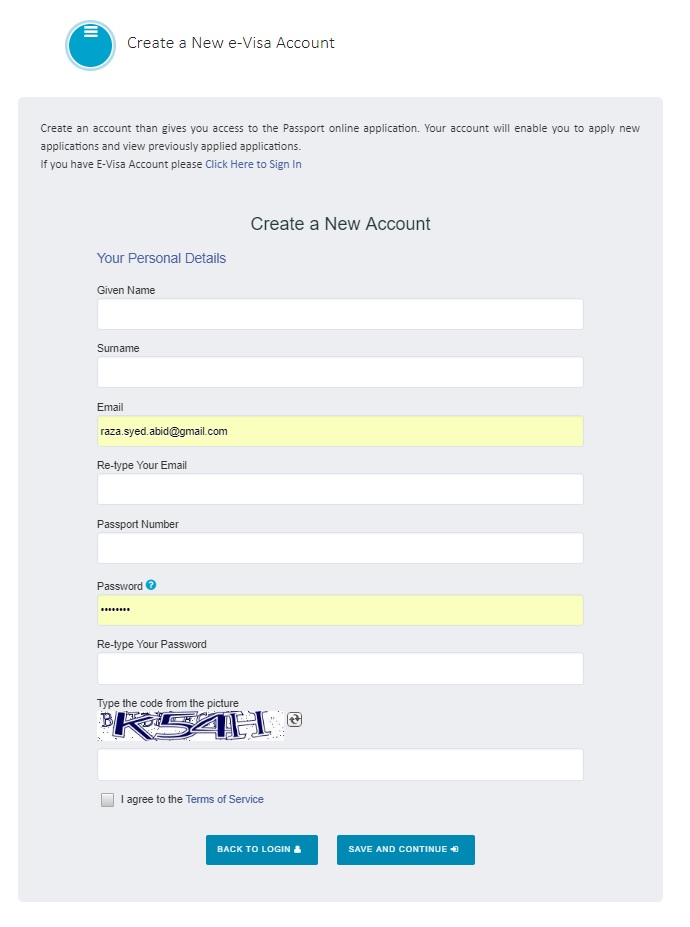
1. Enter your Given Name
2. Enter your Surname
3. Enter your Email Address
4. Retype your Email Address
5. Enter your Passport Number
6. Retype your Passport Number
7. Type the CAPTCHA Code
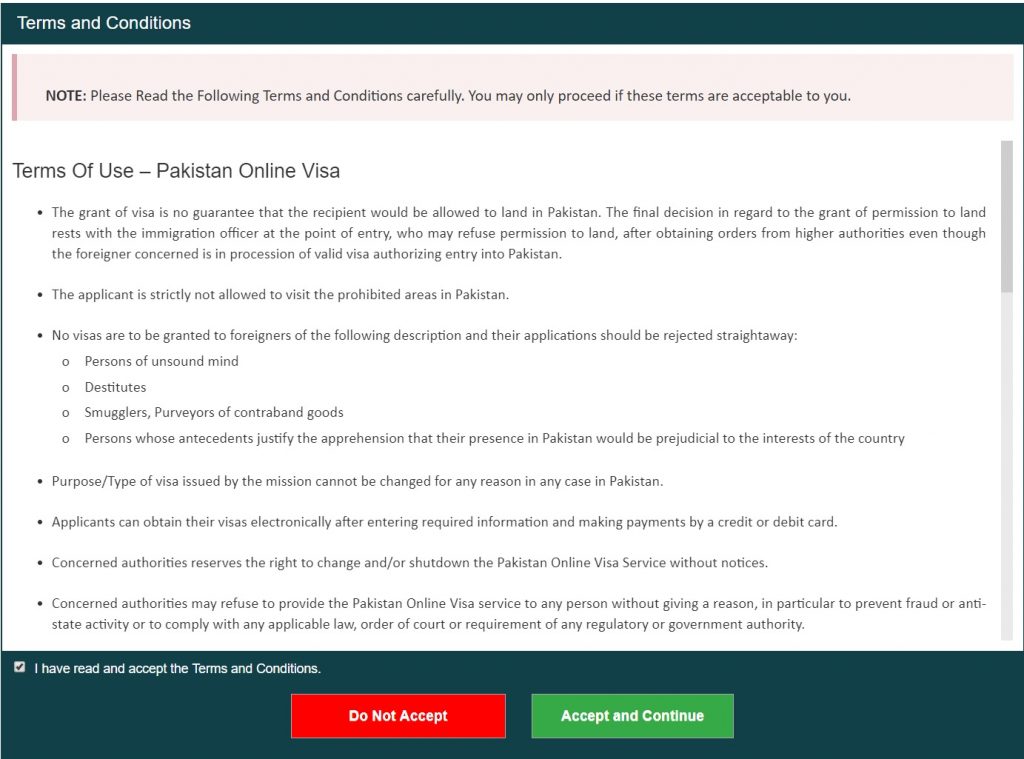
8. Check the box to agree to the “Terms of Service”
9. When you are finished, click on “Save and Continue”
Important: Please provide your name as it appears on the passport.
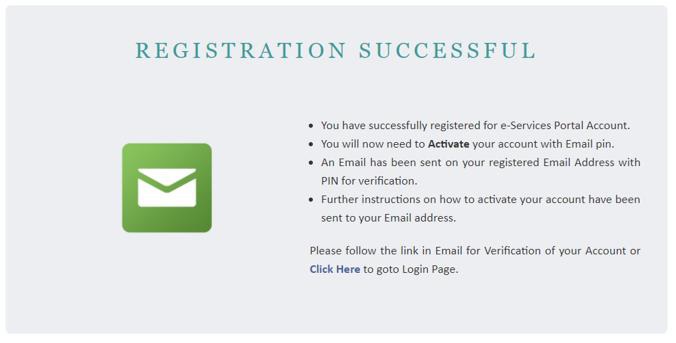
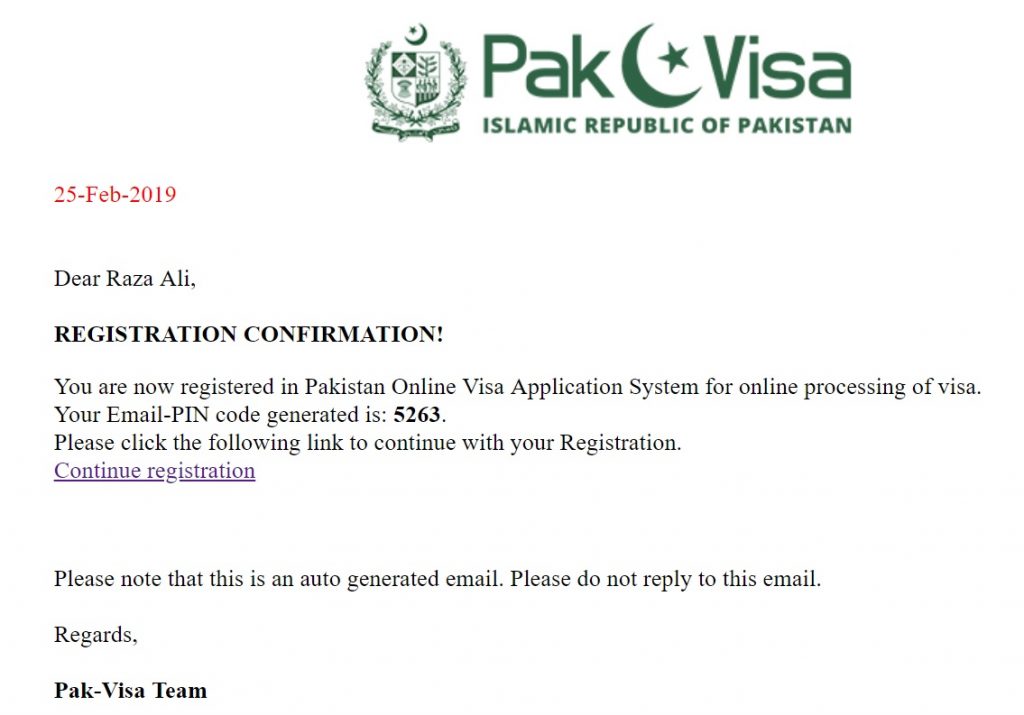
SUCCESS! You are now registered in the Pakistan Online Visa System
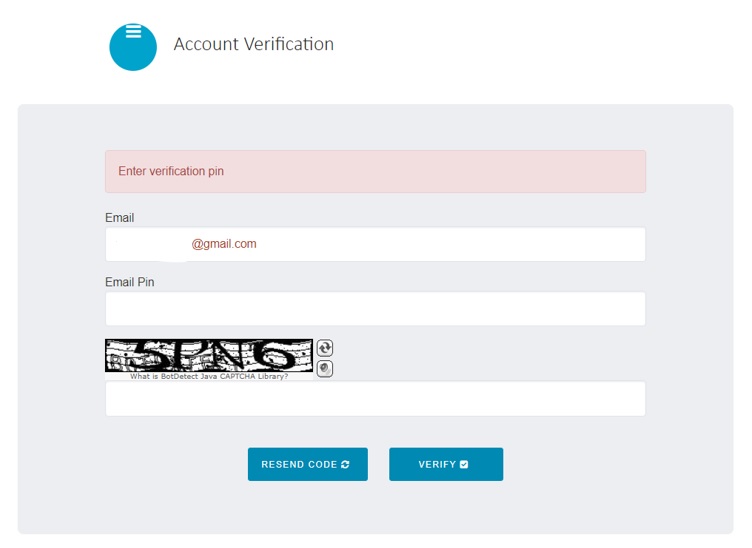
Important Note: If you do not receive the Email Confirmation, please click on “Resend Code” button
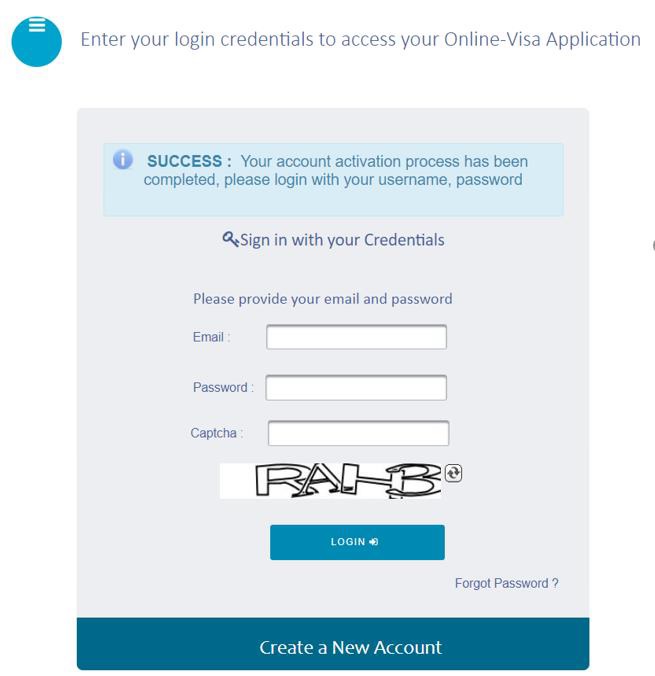
1. Enter your Email Address
2. Enter your Password
3. Enter the CAPTCHA Code
4. Click on Login button
Note: If you forget your password, please click on “Forgot Password” link and follow the steps:
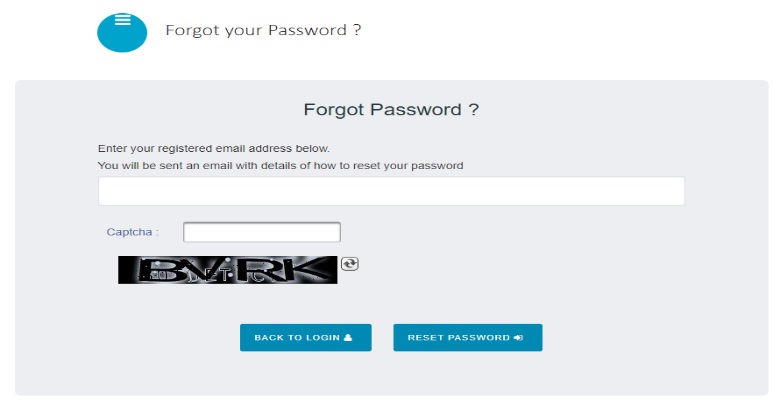
A. Enter your registered email address, enter CAPTCHA Code and click the “Reset Password” button.
B. An email will be sent to your registered email address with the “Password Reset” link as shown below
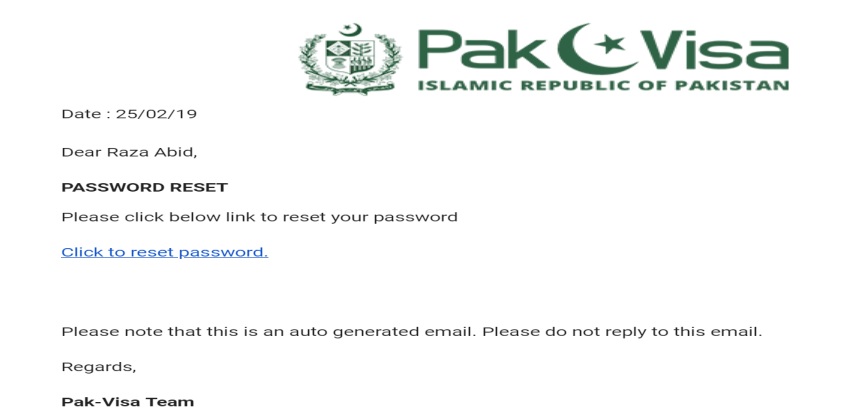
C. Click on the link and you will be redirected to the following page
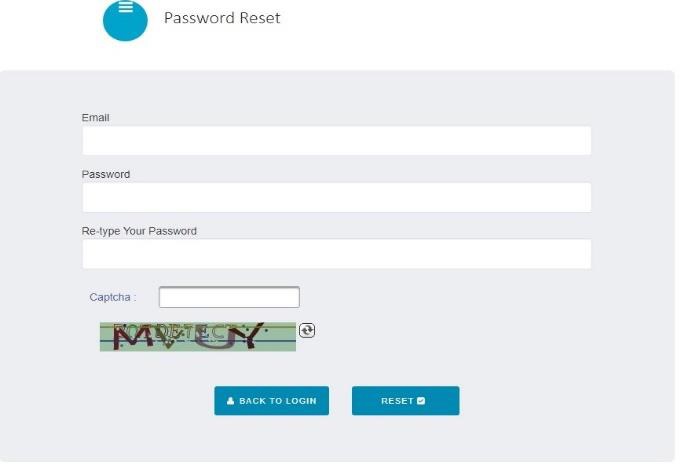
D. Enter your new password, Retype your new password. Enter CAPTCHA Code, then click Reset.
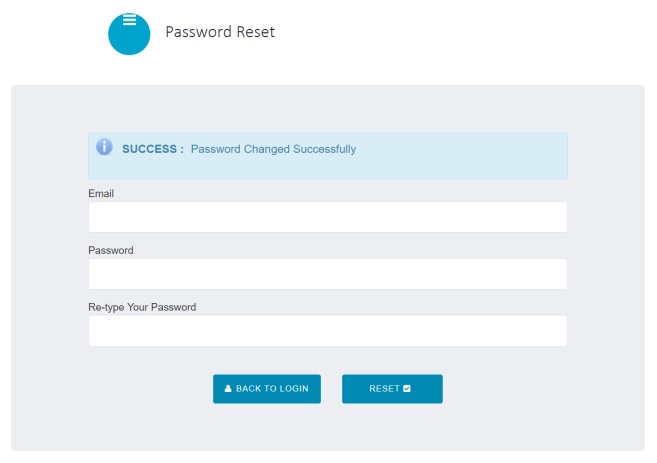
E. Now click “Back to Login” button and login using the new password.
SUCCESS! You are now Logged In to the Pakistan Online Visa System
By default, after successful login, a New Visa Application is launched.
The first section of the Application is “Application Info”. This section records information about your Visa Type, Passport Information, etc
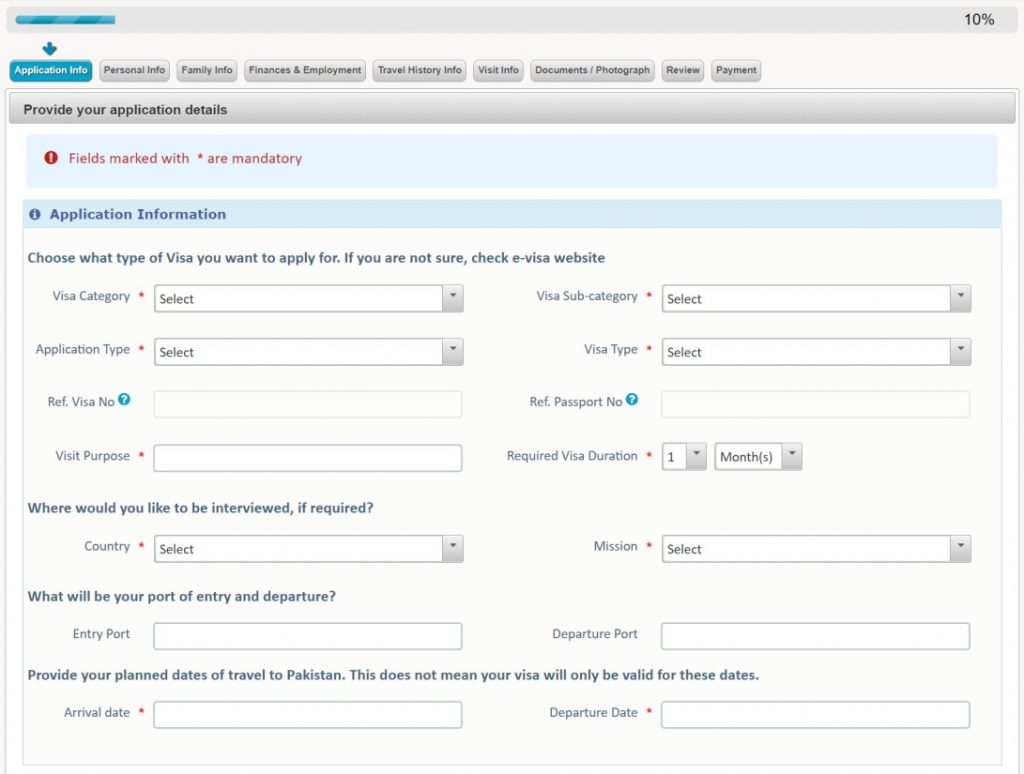
1. Choose Visa Category. To determine which visa is right for you, refer to https://visa.nadra.gov.pk and click on Visa Categories tab.
2. Select the appropriate Visa Sub category
3. Select if you are a first-time applicant or applying for an Extension to an existing visa
4. Choose the number of entries required. Single, Double or Multiple
5. Enter your Visa No. (in case of extension)
6. Enter your Passport No. (in case of extension)
7. Describe the purpose of your visit
8. Choose the Duration of the Visa required
9. Select your Country
10. Select the nearest Consulate
11. Select the Port of Entry into Pakistan
12. Select the Port of Departure from Pakistan
13. Provide the expected Arrival Date
14. Provide the expected Departure Date
Click “Next” to continue to the next step.
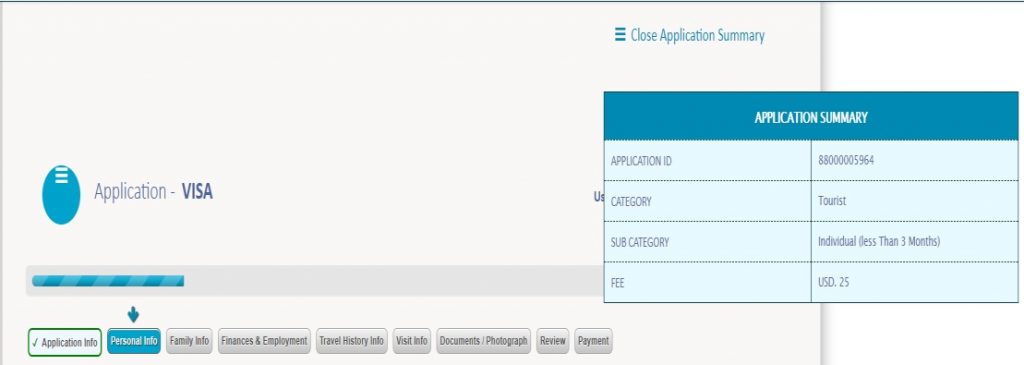
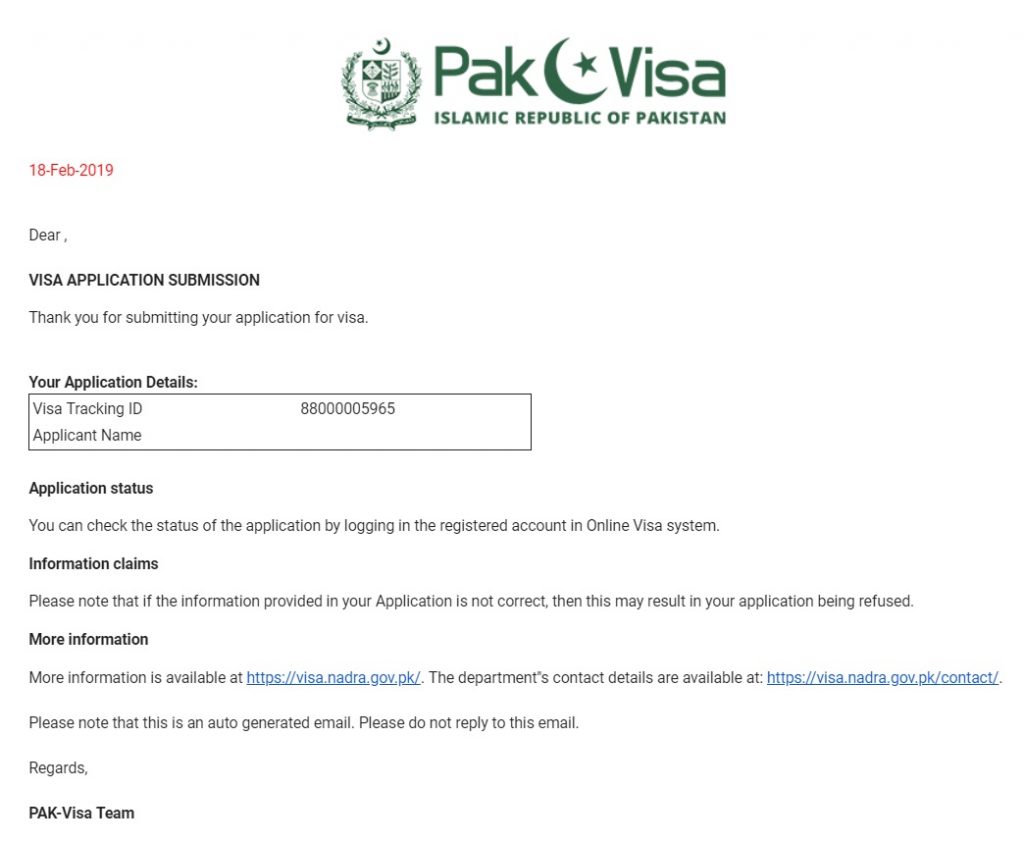
Note: When you proceed to the next Page, a Tracking ID is generated against your Visa Application and the required Fees are also calculated.
This will appear on the top right corner of the screen under the Application Summary table as shown below.
The next section of the application records your personal information.
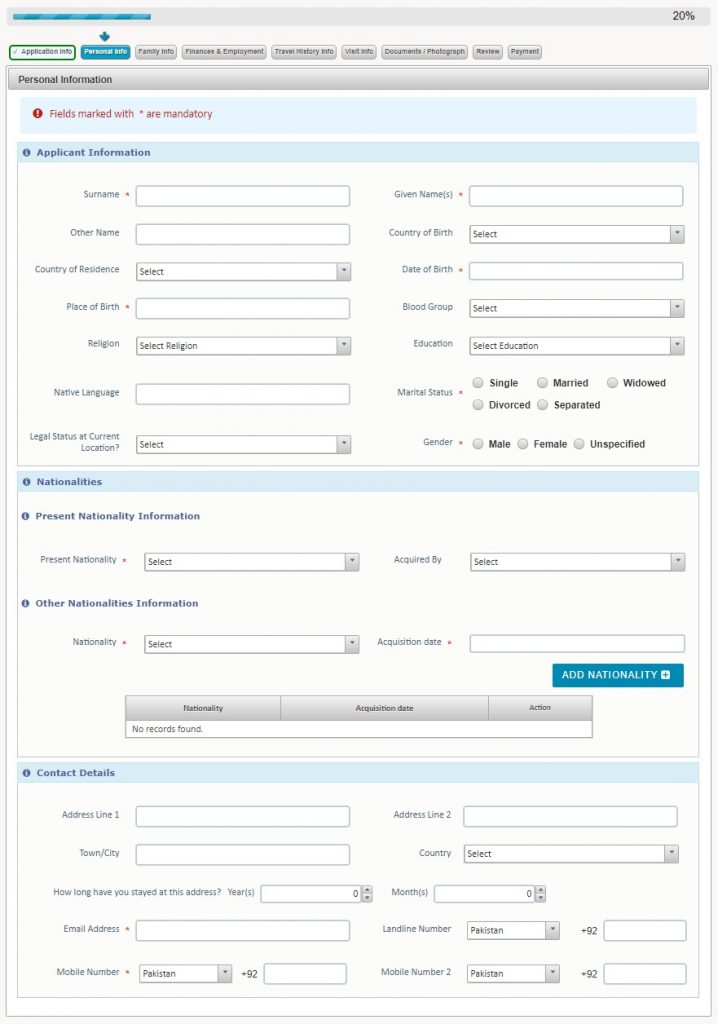
15. Enter you Surname
16. Enter your Given Name(s)
17. Enter any other Names that you have previously used (if any)
18. Select your Country of Birth
19. Select your Country of Residence
20. Enter your Date of Birth
21. Enter your Place of Birth (if available)
22. Select the Blood Group (if available)
23. Select your Religion (optional)
24. Select your Level of Education (optional)
25. Select your Native Language (optional)
26. Choose your Marital Status
27. Select your Legal Status in the Country of Residence where you are applying from
28. Choose your Gender
29. Select the Country of your current Nationality
30. Select the means that you acquired the current Nationality (optional)
31. If you are a Dual National, Select other Nationality
32. Select the Date of Acquisition of Dual Nationality
33. Click “Add Nationality” to Add to the Application
34. Provide your Street Address (optional)
35. Provide your Street Address – Line 2 (optional)
36. Enter the City (optional)
37. Select the Country (optional)
38. Select how long you have lived at this Address (optional)
39. Provide your Email Address
40. Provide your Landline Number (optional)
41. Provide your Mobile Number
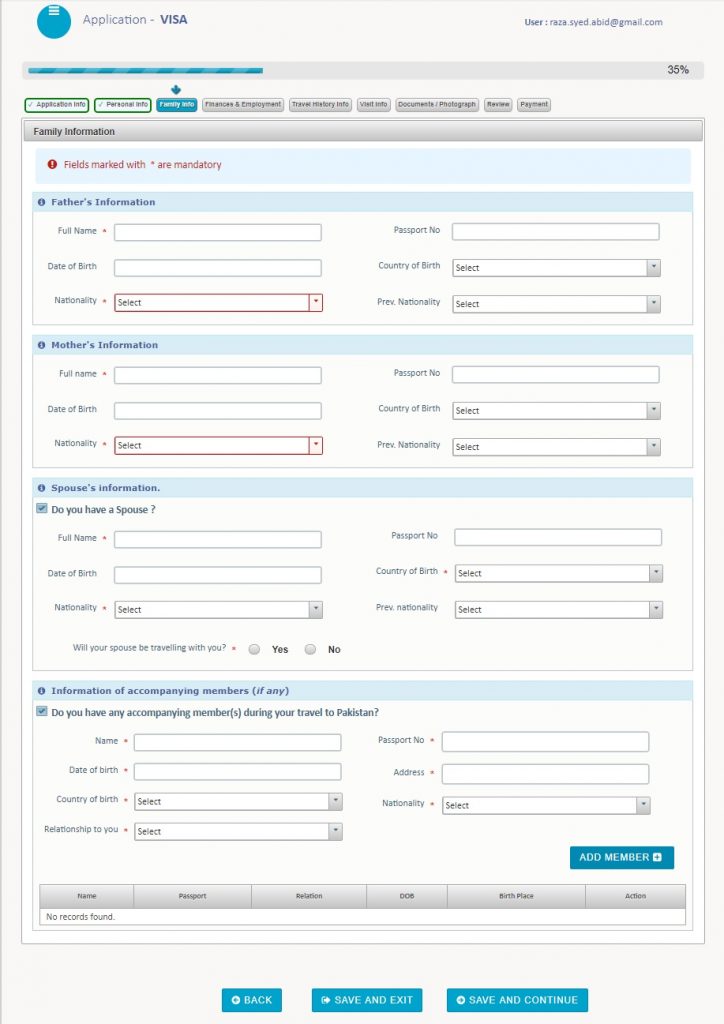
42. Enter Father’s Full Name
43. Enter Passport Number (optional)
44. Enter Date of Birth (optional)
45. Enter Country of Birth (optional)
46. Select Nationality
47. Select any Previous Nationality (optional)
48. Enter Mother’s Full Name
49. Enter Passport Number (optional)
50. Enter Date of Birth (optional)
51. Enter Country of Birth (optional)
52. Select Nationality
53. Select any Previous Nationality (optional)
If you have a spouse, check the box labelled “Do you have a Spouse”. The following information will be recorded. In case the box is unchecked, the information will not display.
54. Enter Spouse’s Full Name
55. Enter Passport Number (optional)
56. Enter Date of Birth (optional)
57. Enter Country of Birth (optional)
58. Select Nationality
59. Select any Previous Nationality (optional)
60. Choose whether your spouse will be travelling with you OR not.
If you have any family members who will be travelling with you during this trip, check the box labelled “Do you have any accompanying members during your travel to Pakistan”. The following information will be recorded. In case the box is unchecked, the information will not display.
61. Enter Full Name
62. Enter Passport Number
63. Enter Date of Birth
64. Select Country of Birth
65. Select Nationality
66. Select Relationship to you
67. Click “Add Member” to add this entry into the Application
Important Note: Repeat Step 61 – 67 to add additional family members travelling with you
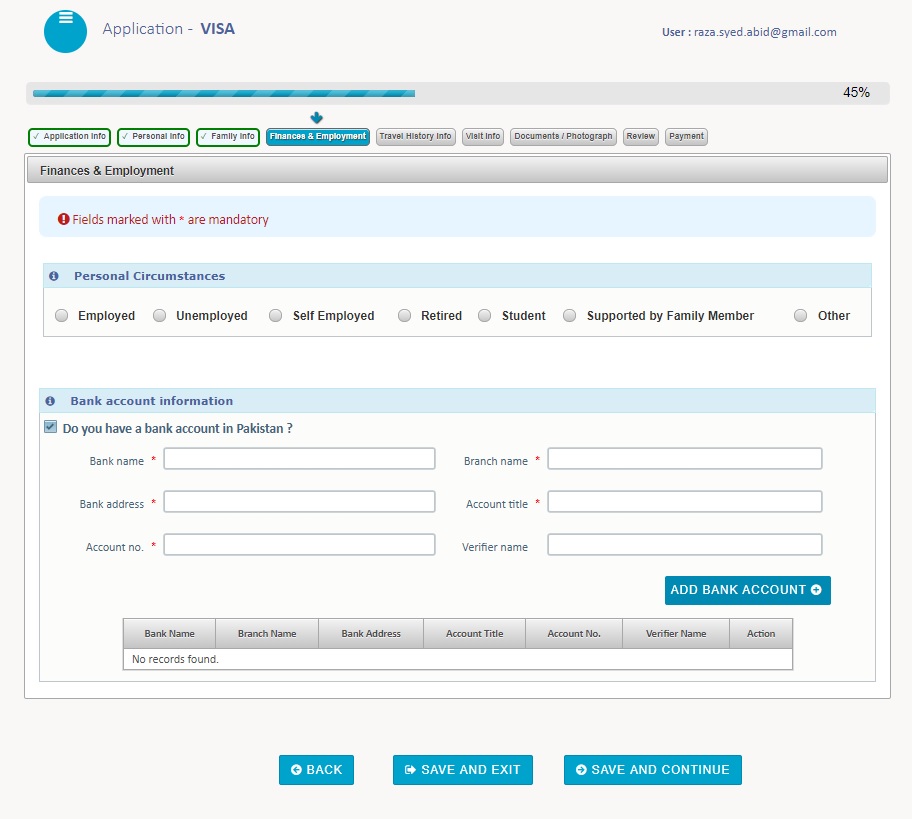
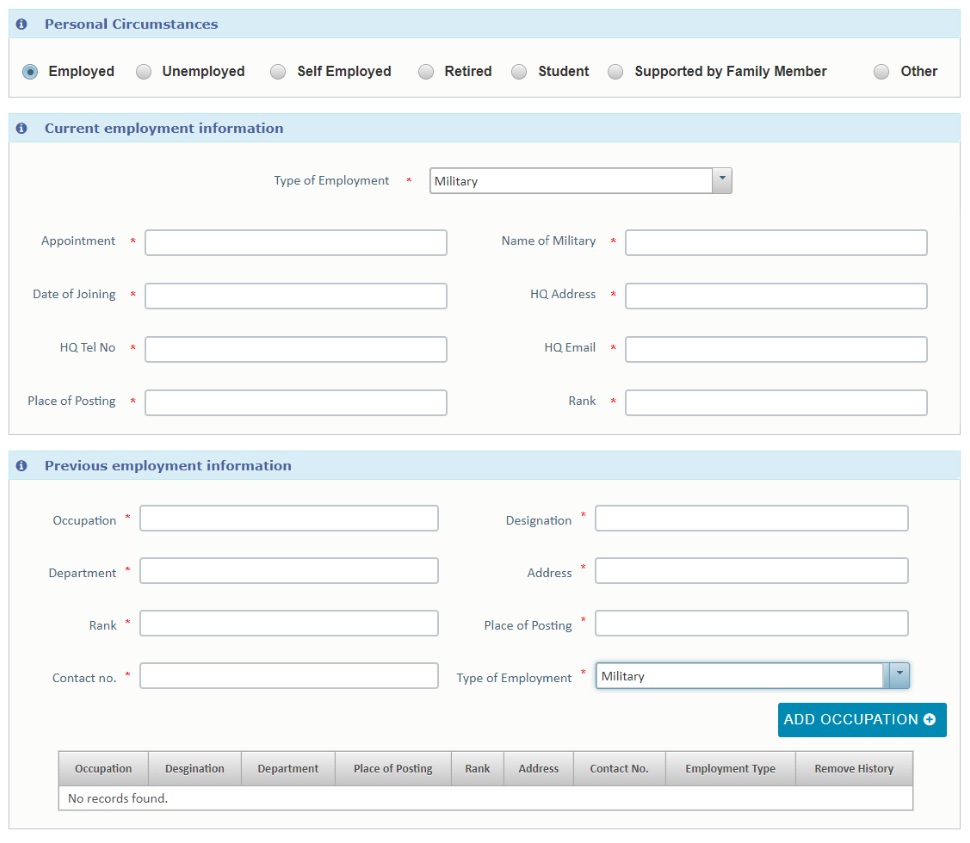
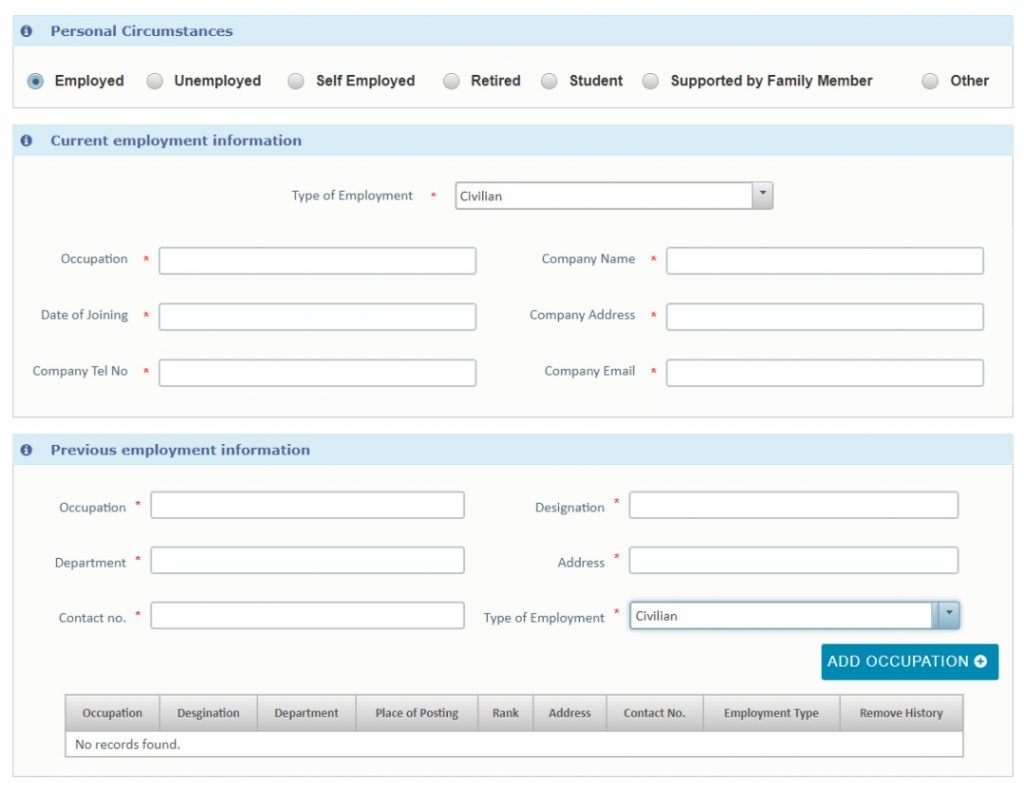
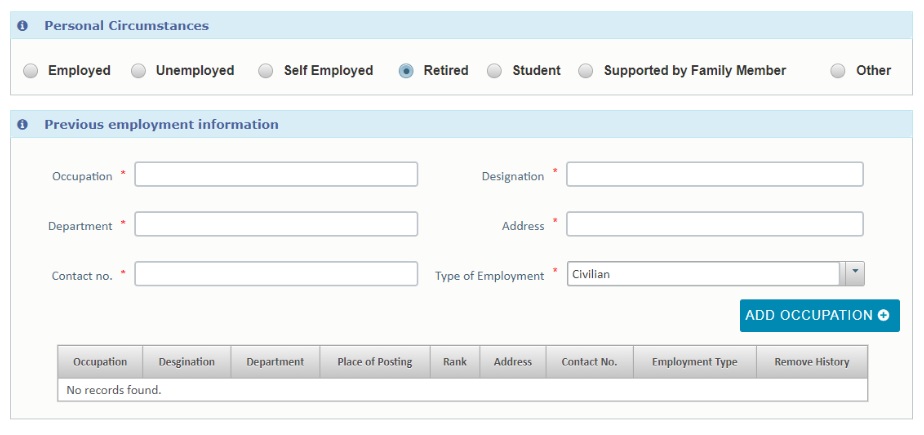
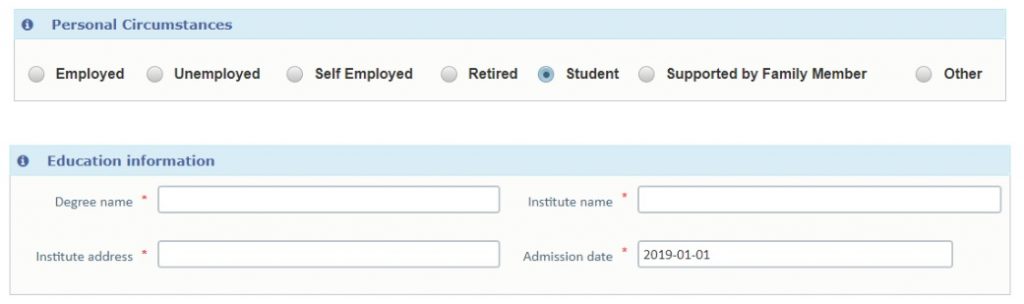
68. Select the option that best describes your current Employment Status. Based on your selection, you will be asked different questions. The picture below shows the different questions for an employed, military individual.

129. Select Supporting Document Type using the drop down list
130. Click “Choose” to browse your computer for the file
131. The system automatically checks for the quality of the file and if the check is passed, click on “Upload” button to save the file to your Application.
132. Repeat the steps 129 – 131 until all Supporting Documents have been Uploaded
133. Click “Save and Continue” to proceed.
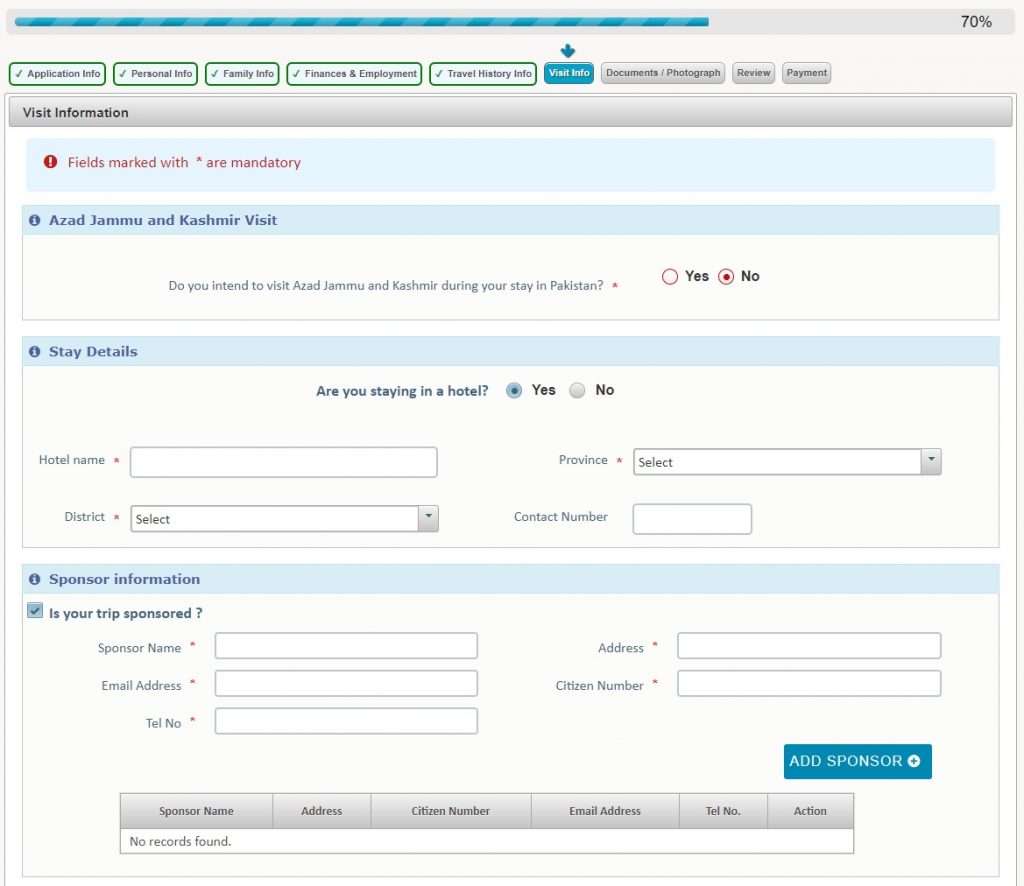
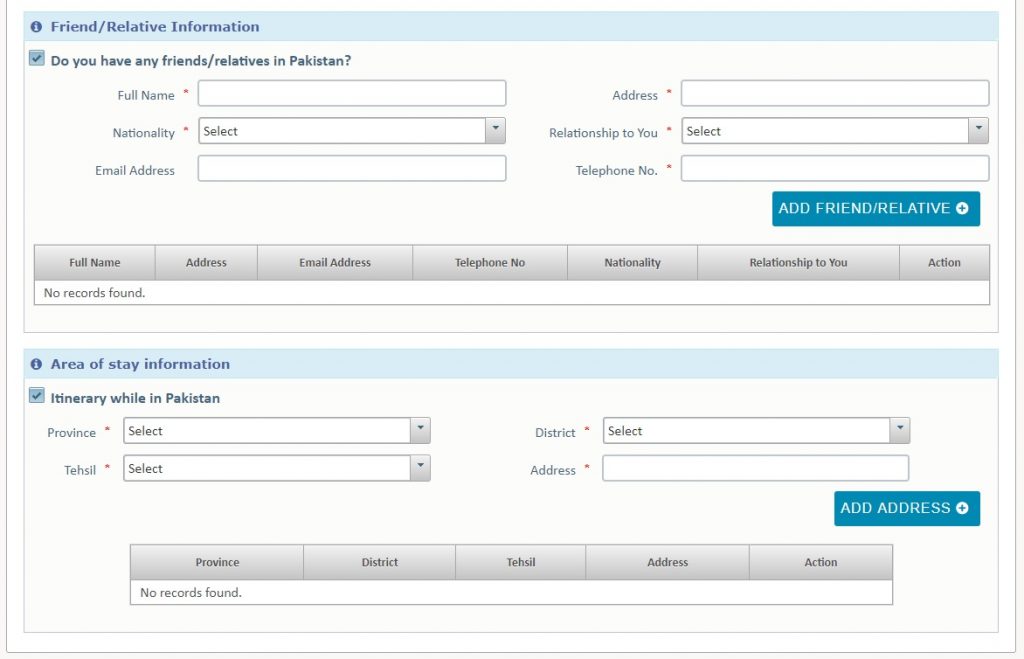
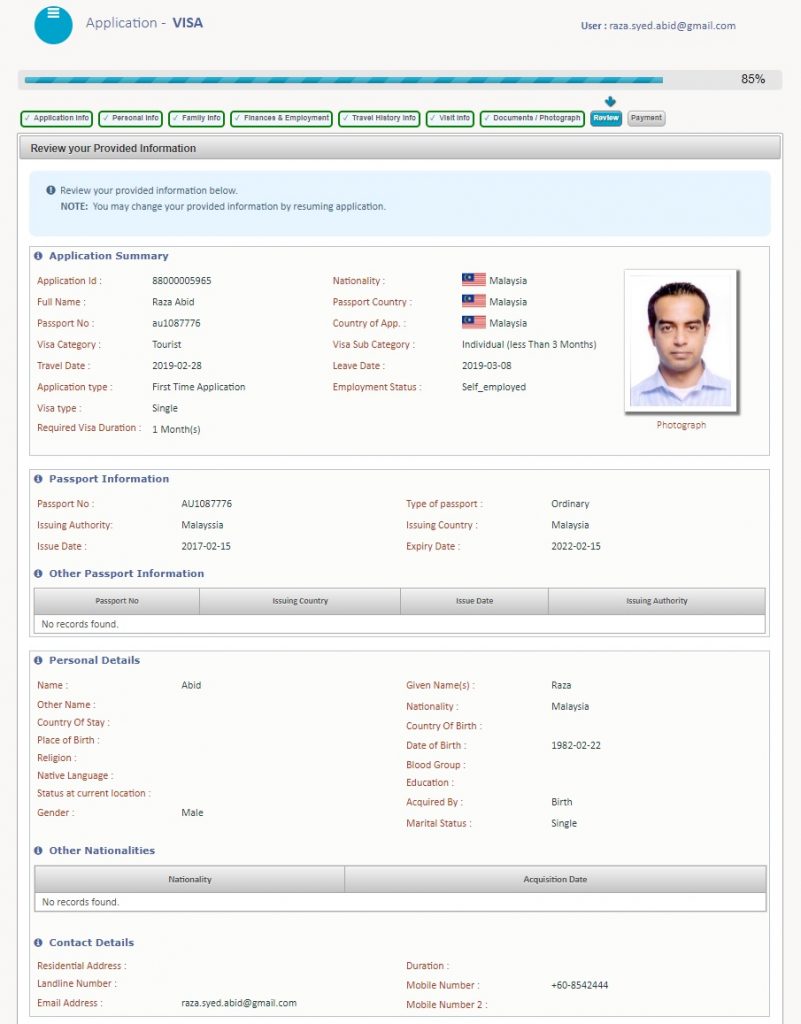
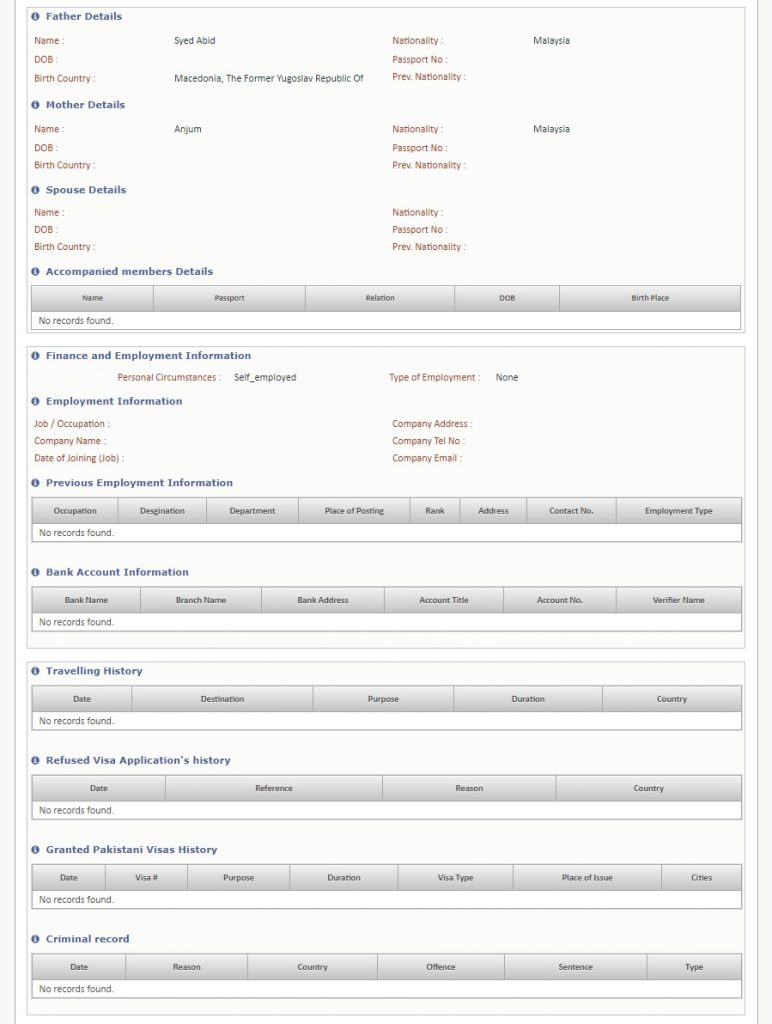
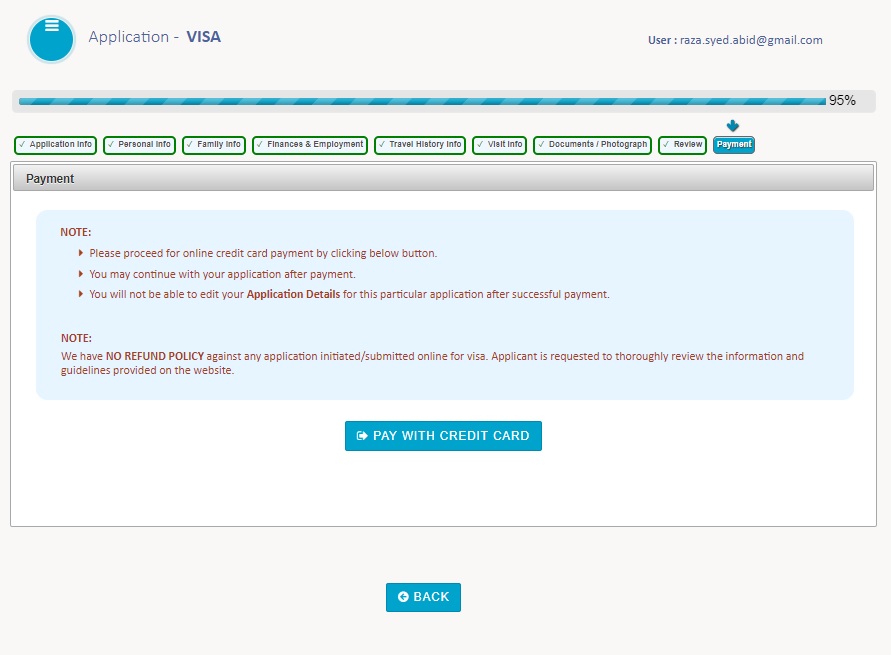
At this stage, your complete Visa Application will be displayed. Please review the supplied information carefully as this information will be used to process your Visa Application.

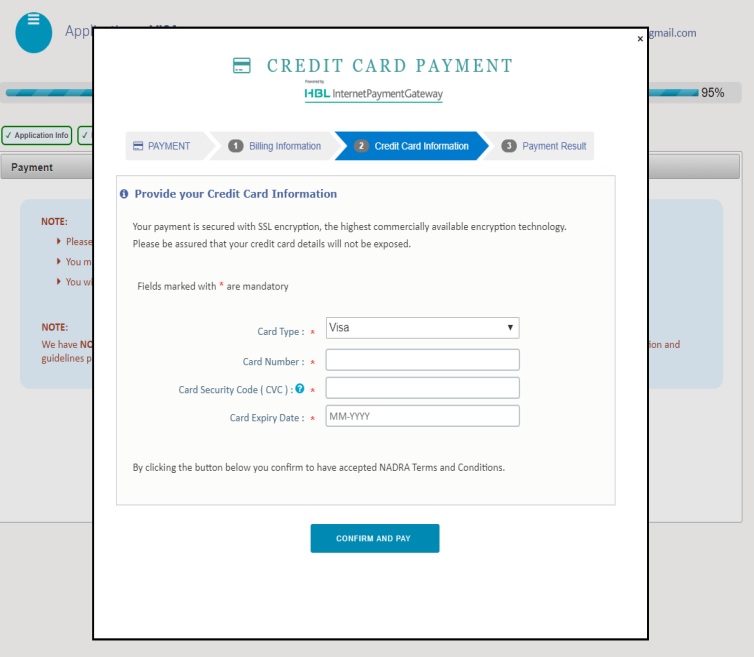

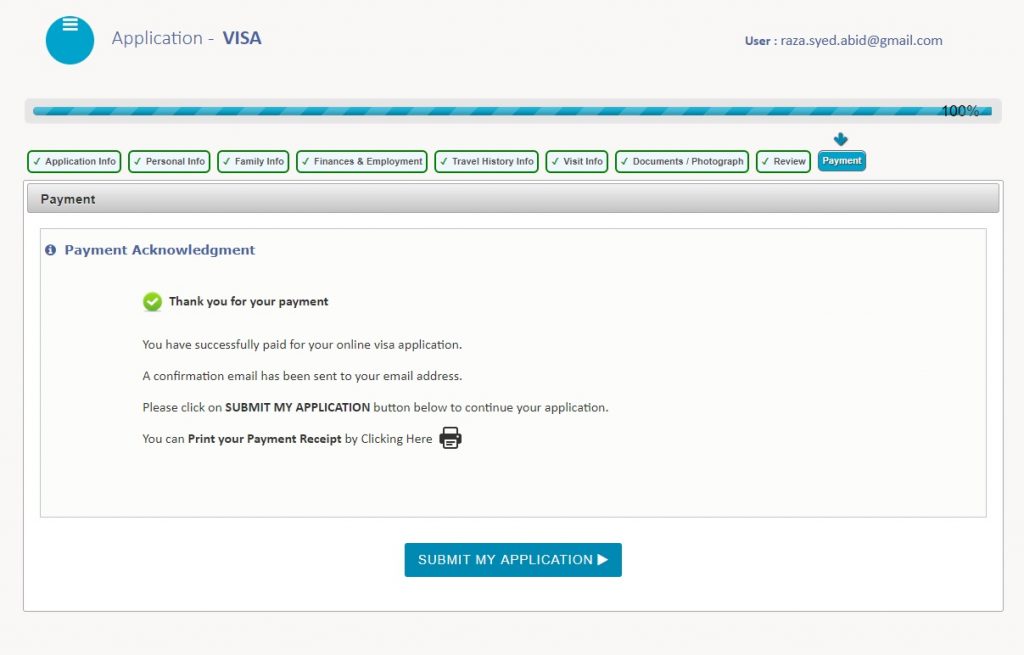
After successful payment, you will be redirected to the following page acknowledging the receipt of your Credit Card payment
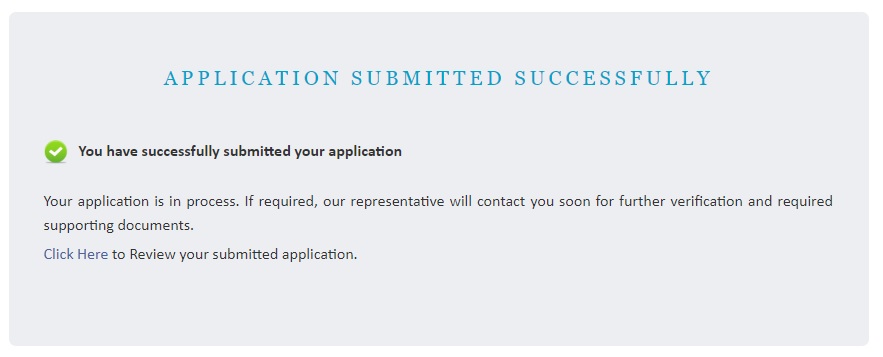
SUCCESS! Your Pakistani Visa Application has been successfully submitted.